W3CRM
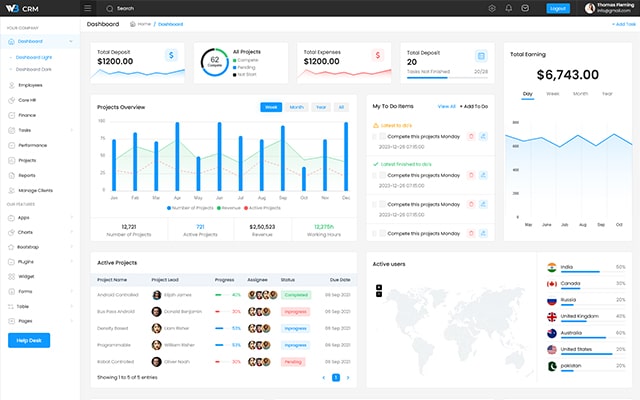
W3CRM - Tailwind CSS Admin Dashboard Template
This documentation is last updated on 13 March 2024
Thank you for purchasing this HTML template.
Installation -
1.- Install Node Module
Install tailwindcss modules via npm
npm install
2.- Start the Tailwind CLI build process
Run the CLI tool to scan your template files for classes and build your CSS.
npx tailwindcss -i ./src/assets/css/tailwind.css -o ./src/assets/css/style.css --watch
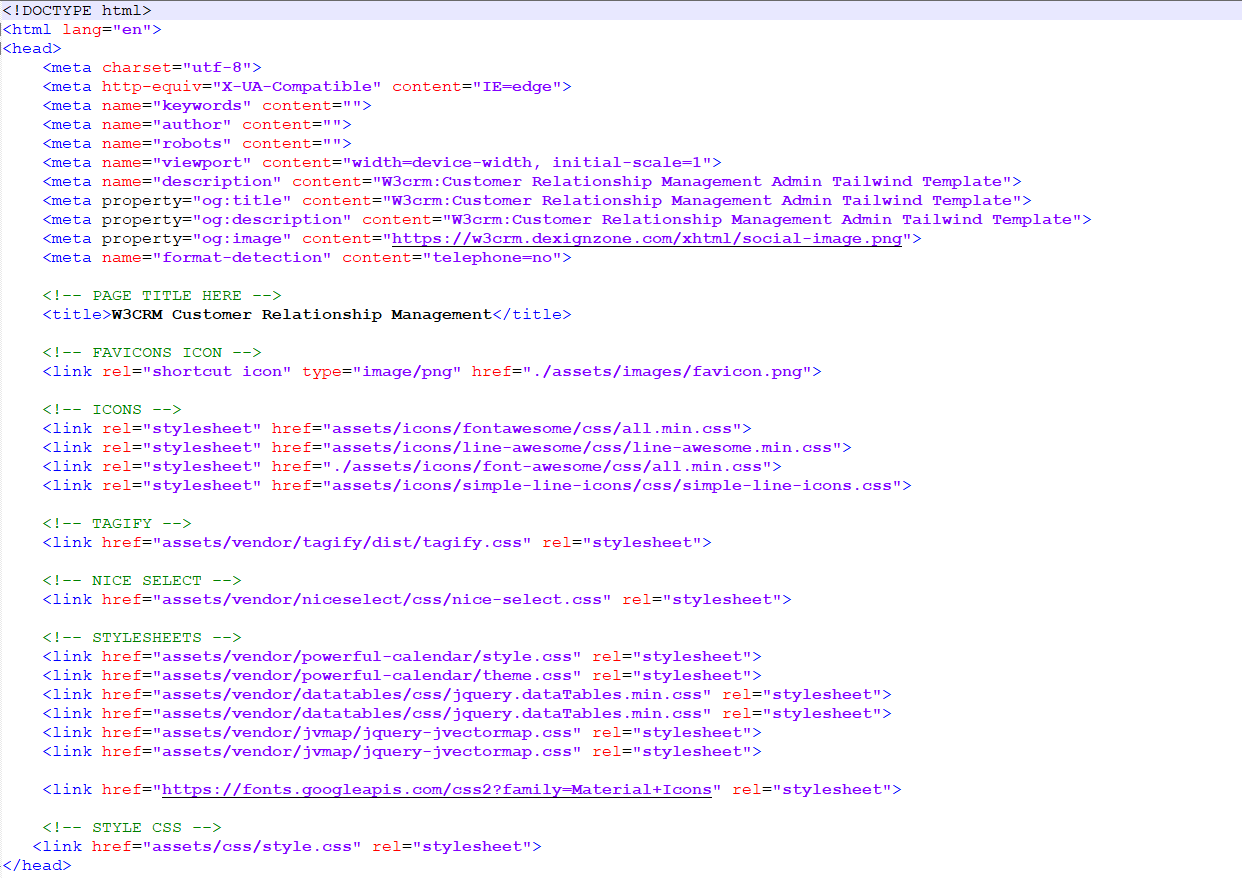
3.- Start using Tailwind in your HTML
Add your compiled CSS file to the <head> and start using Tailwind’s utility classes to style your content.
Folder Directories -
-
images
This folder contains all the images of W3CRM template.
-
fonts
This folder font files for various template features.
-
css
This folder contains all the CSS files of W3CRM template.
-
js
This folder has all javascript files for various template features.
-
vendor
This folder has all plugins used in the template.
-
script
This folder has all script contact form used in the template.
HTML File-
- package
- src
- assets
- css
- icons
- images
- js
- vendor
- index.html
- index-2.html
- employee.html
- assets
- package-lock.json
- postcss.config.js
- tailwind.config.js
- src
Theme Features -
js/deznav-init.js
dzSettingsOptions = {
	typography: "poppins",
	version: "light",
	layout: "vertical",
	primary: "color_1",
	headerBg: "color_4",
	navheaderBg: "color_4",
	sidebarBg: "color_1",
	sidebarStyle: "full",
	sidebarPosition: "fixed",
	headerPosition: "fixed",
	containerLayout: "full",
};
Color Theme -
So many color option available
var dezSettingsOptions = {
	typography: "poppins",  		More Options => ["poppins" , "roboto" , "Open Sans" , "Helventivca" ]
	version: "light",       		More Options => ["light" , "dark"]
	layout: "horizontal",   		More Options => ["horizontal" , "vertical"]
	primary: "color_11",			More Options => ["color_1," , "color_2," ..... "color_15"]
	headerBg: "color_1",			More Options => ["color_1," , "color_2," ..... "color_15"]
	navheaderBg: "color_1",			More Options => ["color_1," , "color_2," ..... "color_15"]
	sidebarBg: "color_11",			More Options => ["color_1," , "color_2," ..... "color_15"]
	sidebarStyle: "compact",		More Options => ["full" , "mini" , "compact" , "modern" , "overlay" , "icon-hover"]
	sidebarPosition: "static",		More Options => ["static" , "fixed"]
	headerPosition: "fixed",		More Options => ["static" , "fixed"]
	containerLayout: "full",		More Options => ["full"]
	direction: direction			More Options => ["ltr"]
};
Credits -
-
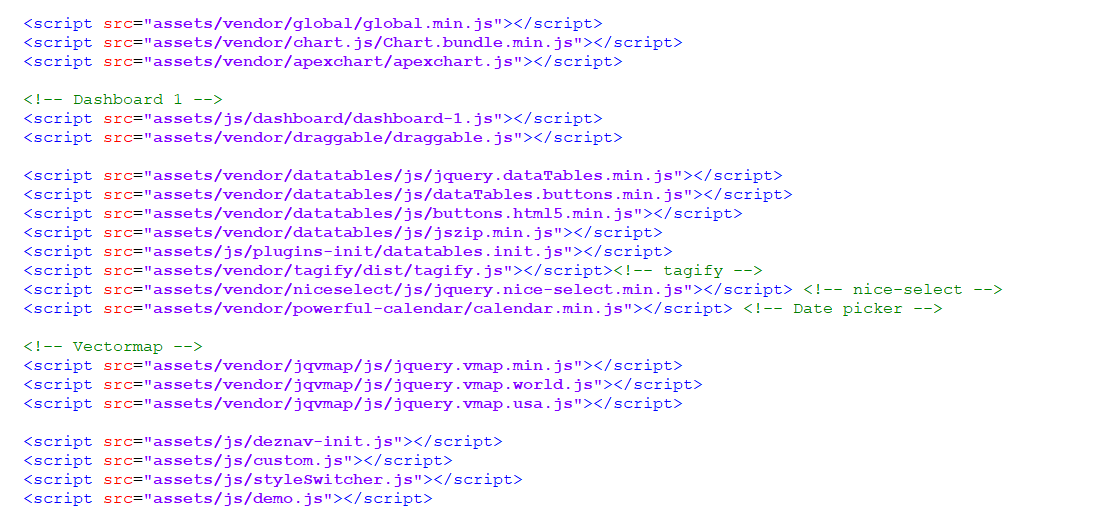
apexchart
-
chart.js
-
chartist-plugin-tooltips
-
clockpicker
-
datatables
-
daterangepicker
-
dropzone
-
fullcalendar
-
highlightjs
-
jquery
-
jquery-asColor
-
jquery-asColorPicker
-
jquery-asGradient
-
jquery-sparkline
-
jquery-steps
-
jquery-validation
-
metismenu
-
moment
-
nestable2
-
nouislider
-
niceselect
-
powerful-calendar
-
pickadate
-
select2
-
svganimation
-
sweetalert2
-
Tailwind
HTML Structure -
HTML Structure
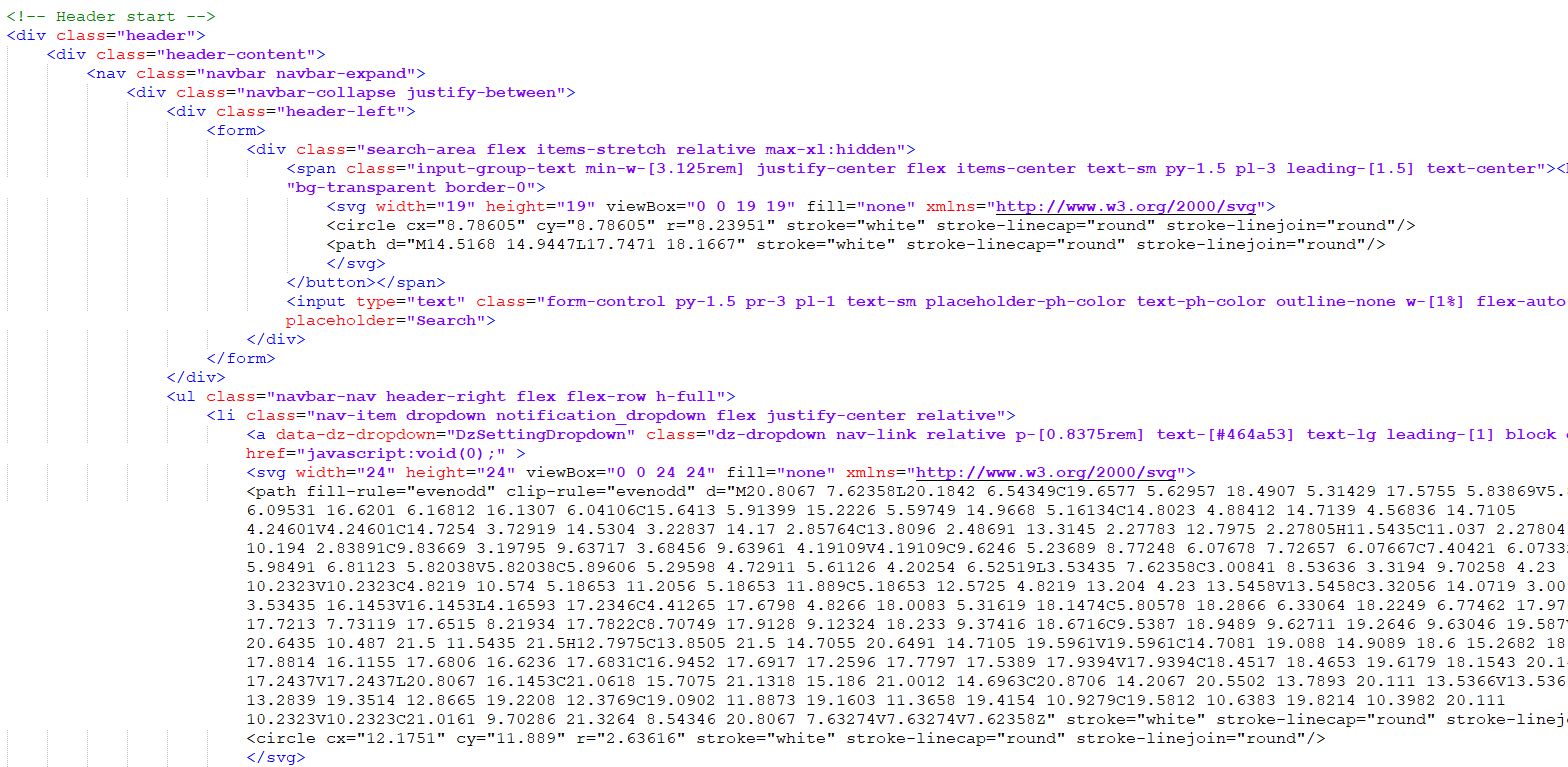
Header
Footer Section

Footer Essentials
Our Products -


Do You Need Help To Customization
After Purchase A Template...
You Will Start Customizing According Your Requirement
BUT What If You Don't Know
SOLUTION IS HIRE DexignZone
Hire Same Team For Quality Customization
- In Order To Ensure Your Website Is Live, We Will Customize
The Template According To Your Requirements And Upload It to the Server.